|
Return to Wonderland
Level Editor
Tutorial #2 - Adding Puzzle Elements
Ready for the next Tutorial? Excellent!
Our first level worked, but it wasn't much of a puzzle. Let's modify it to add some more level elements.
First, start-up the Level Editor and select "Load Level". The Level-Selection screen appears. With your mouse, select your "TUT1" level.
It should appear on screen, ready to be worked on:

First, remove the exit object (remember to simply place an "empty" object over it) and put it into the upper right corner of the level. Then select the "Gates" tile category and place two exit gates, as such:
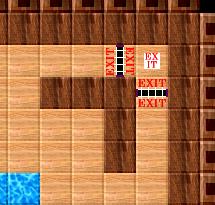
There are two gates for each type, one for each orientation. The exit gates are the iron bars that open once all Rainbow Coins are collected. So to make these gates useful, we need to place some Rainbow Coins as well.
Look at your Object list. The third object in that list is the Rainbow coin. Select it, then place three in the lower left corner
of the level. We'll also place two boxes, as well as four tiles of water, as follows:

Got it all set-up? Great! Stinky will need two boxes to cross the water - since the box on the left cannot be pulled away from the wall, Stinky will have to use both boxes on left water channel... our very first little puzzle.
Now, let's make the level a bit more dangerous.
Select the "Cannon" category. This has 16 cannons: four directions, each with numbers 1-4. The direction tells you which way the cannon will shoot, the number indicates how fast it shoots (1-fastest, 4-slowest).
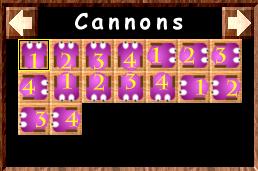
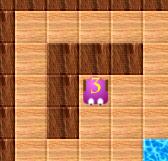
Let's pick a slow-shooting ("3") cannon pointing down, and place it in the upper left corner, like this:
Let's also put a Z-Bot in this level. Z-Bots are the small blue discs with arrows in your object list. There are eight Z-Bots... the arrow shows you both in which way the Z-Bot will travel to begin with, and in which direction the Z-Bot will try to turn if it hits an obstacle. Let's place the following Z-Bot in the lower-right corner:
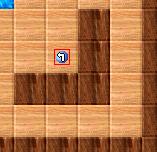
This Z-Bot will travel up, hit the upper-right corner, and then turn left (in this case it actually has no choice but to turn left - since there's a wall to its right. If it had the choice, it would still turn left given the direction of the arrow we picked).
Take a moment to study the motion of the Z-Bot. Can you see that it will bounce off the Cannon, then off the wall, always turning left, to keep going around and around in a square?
All set? Let's change a few properties of the level:
1. Click on the Level Name and change it to "Second Tutorial Level" (delete the "Weeeeeee!" from the second line).
2. Next to "Time: 300" are two arrows. This changes the time (in seconds) that you give the player to complete the level. Let's be generous: click on the right-arrow until you have 600 seconds (10 minutes). Plenty of time!
3. Click on "Style" (under Time) to select the graphical look of the level. Let's pick "Jade".
4. Click on "Bkg" (under Style) to select the background visual effect for the level. It's currently set to "Sky", let's change it to "Walls".
5. Finally, click on "Music Track" to select Track #3.
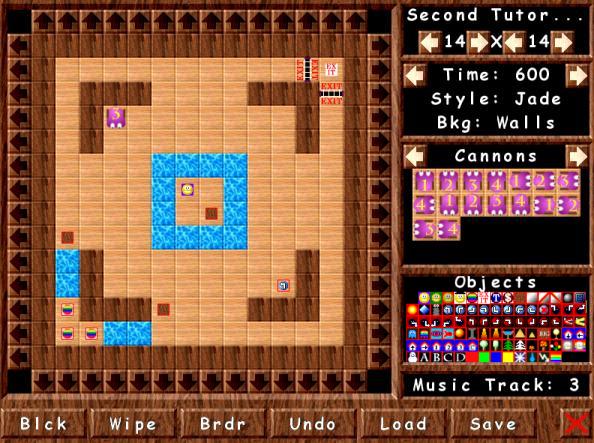
We're all done. This is what your new level should look like:
Forgot anything??? Right, we can't forget to save the level!
Click Save, and change the filename to "TUT2". If you keep it at "TUT1", our first tutorial will be overwritten.
All set! Return to the game, and play your level!
Ready for the next tutorial? Click here!
| |

